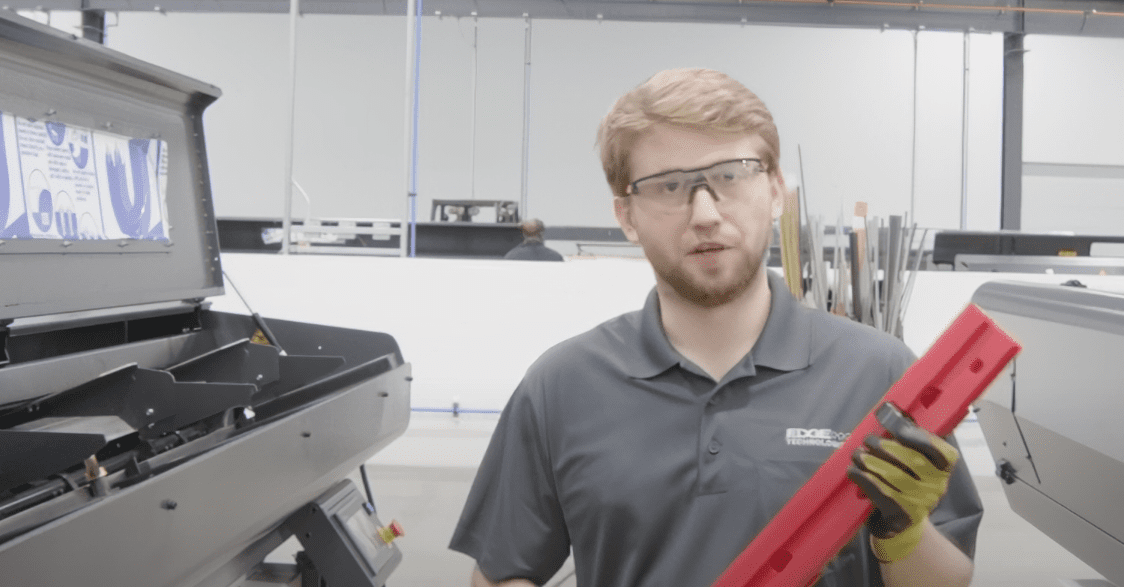
Hi, and welcome to Edge Technologies. Today, we’re going to teach you how to install a guide channel set on a Patriot 338 and 551 bar feeder.
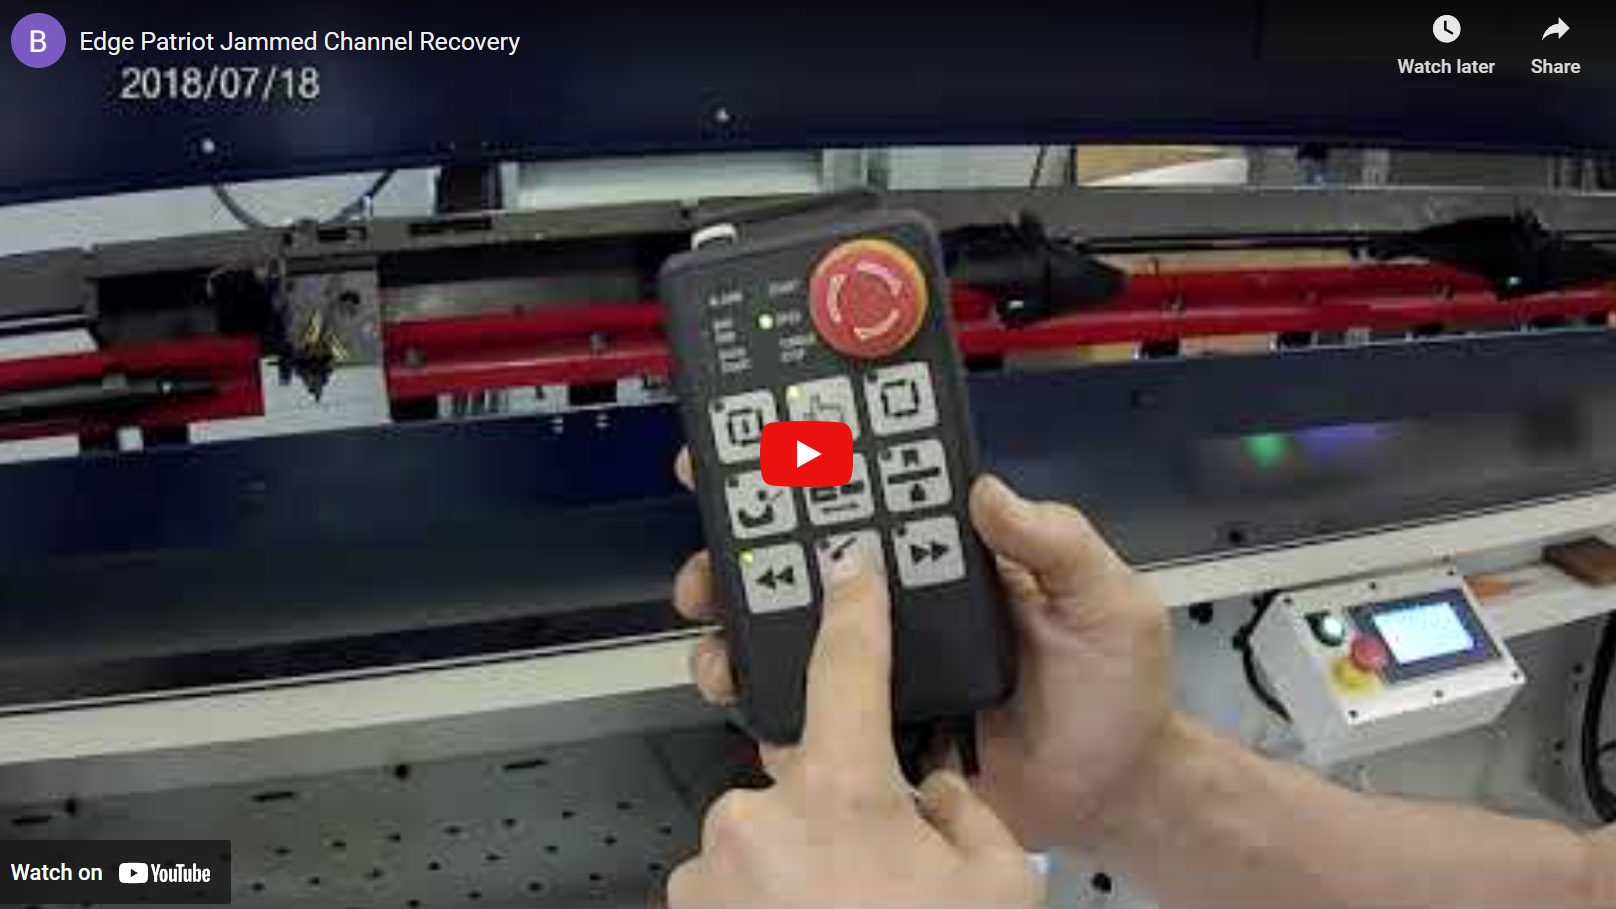
In this tutorial, we will give you tips and tricks on installing the guide channel set. We will also show you the proper steps to safely install it in order to eliminate any harm between you and the bar feeder. The tools you will need are 3, 4, 5 and 10 millimeter hex allen wrenches, two blocks of wood. For safety, we have a pair of gloves and safety glasses for protection. We will be using a 32 millimeter guide channel set and a standard link bar pusher for this installation. The guide channel set contains upper and lower channels pre-feed pusher support bracket rotating tip and bar pusher now that we have our tools and channels set, let’s begin. For safety, we will want to engage both e-stops on the bar feeder. There’s an e-stop on the pendant and one on the HMI.
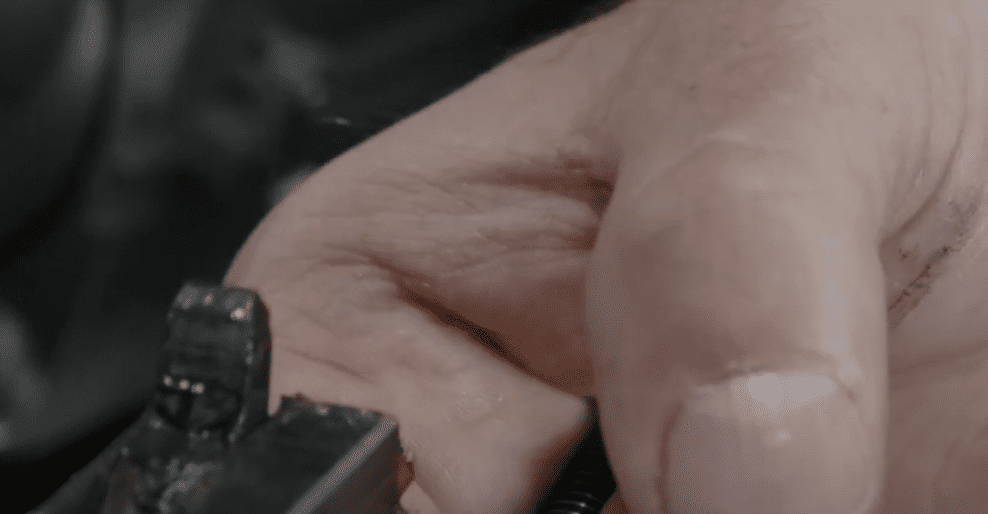
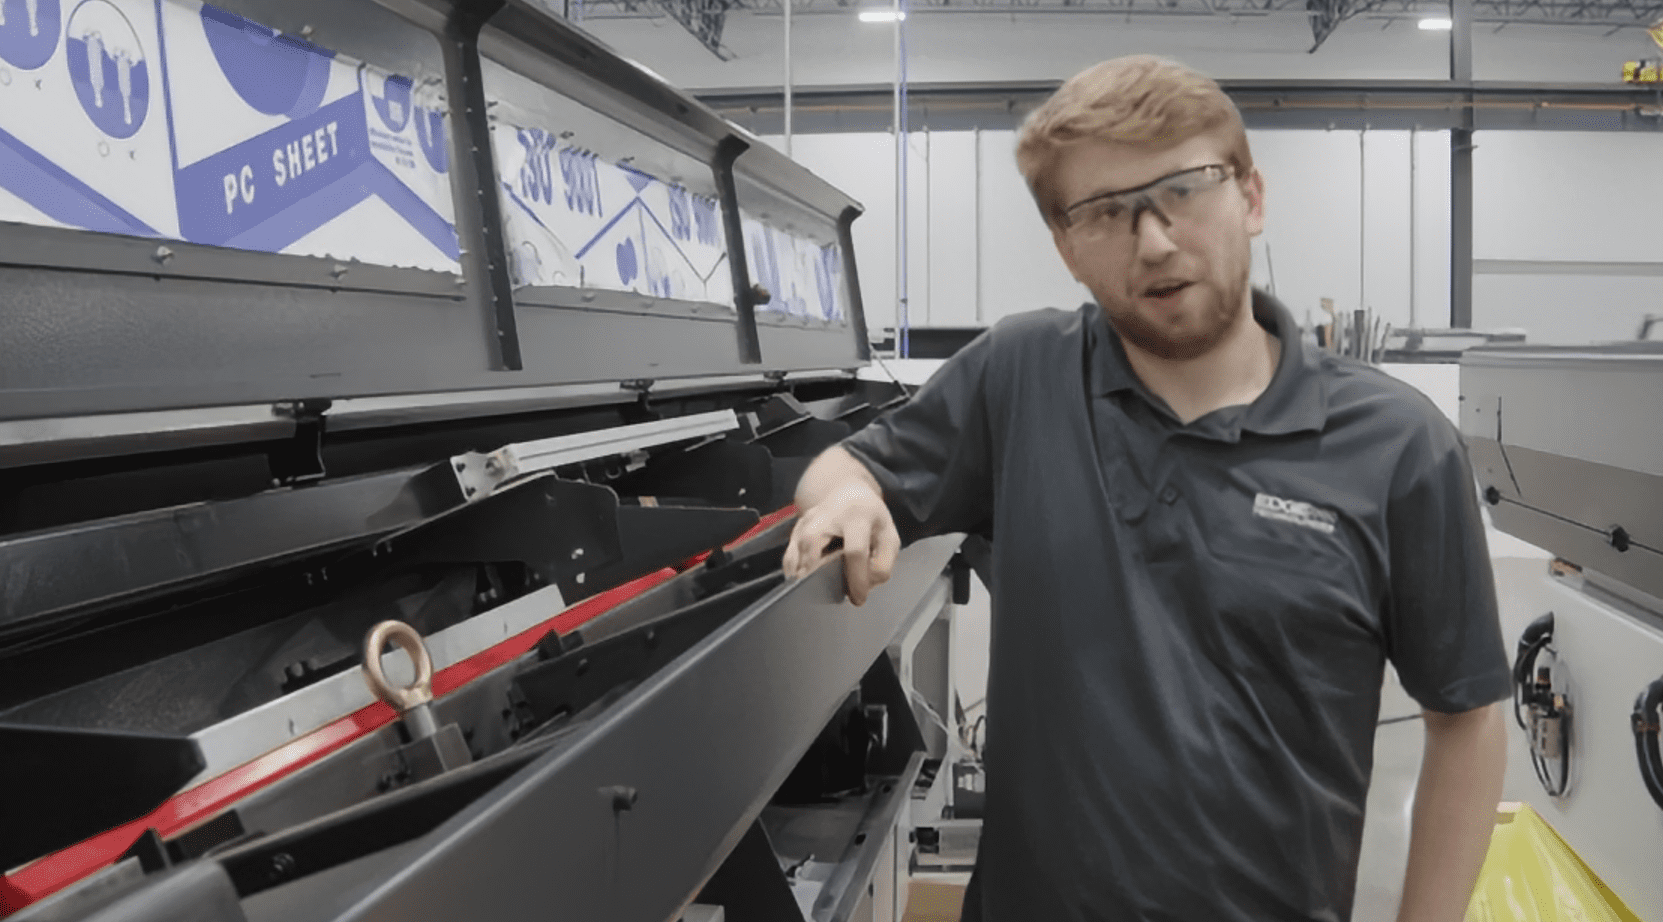
We also recommend to unplug the bar feeder as an extra safety measure. We also want to unplug the main air hose that connects to the bar feeder. If air pressure was in the machine, we will need to slide the support shaft toward the Home position of the machine. This will give us access to the top guide channel assembly for extra safety precaution. We’re going to take a 4×4 and place it in between the two grippers in the guide channel support this is a dangerous spot and can cause serious injury. If there aren’t any four by fours, you can use a remnant or any sort of material laying around. The bar feeder is now ready for the guide channels to be installed. Now that the bar feeder is ready, we can take a look at the guide channel set. The box will contain a sheet with an assembly drawing and a breakdown of what items are in the box. Each guide channel contains a four digit number next to it. These numbers correlate where the guide channels should go in the machine. Our first guide channel we will put in will be in the pre-feed location. This is the only guide channel that uses a five millimeter socket for installation. There will be two fixed rings that need to be removed and set aside. Put them in a safe location, so they won’t get lost. The support pad is a safe place to put them. The pre-feed channel has a recessed opening for the support hanger. This opening should face the home position. Once we set the channel, we will put the fixed rings back in and tighten them. The next channel we put in we use a 10 millimeter socket wrench. We will use this wrench for the rest of the guide channels we want to make sure that the pins are facing in the up and down position. There are aluminum batons lined up on the bottom of the magazine. These are used as the bottom guide channel support. If you’re unable to tell the difference between the front and back of the bottom guide channel, take a scale or a screwdriver place it on the top of the back and you can see that the front has a small gap. That’s your front. After we set the channel on the baton, take the 10 millimeter wrench, insert it into the channel fitting, starting on on the ends of the channel, and then in the middle fitting, rotate clockwise until the pins are locked in with the collar.
If you are having trouble getting it in, wiggle it a little bit and move it clockwise. The corners of the channel should be chamfered to keep the pre-feed and the bar flags getting jammed up. When the machine is operating, you’ll want this facing toward the nose. The channel that was chamfered has a special cutout for the chopped channel support. You want to make sure that this is facing the nose end of the machine.
The top channel is much more different than the bottom channel. You can tell by seeing a small step or lip on the top channel. This is your front facing.
The next channels are the top guide channels. We want to make sure the recessed lip is facing toward us when we install them.
The next channel is the upper channel support for the bar. We want to make sure that the support is facing the nose of the machine.
Now that we have our pre-feed guide channels installed, we’re going to place a new block of wood in between the guide channels for safety and take out the 4×4 between the gripper. This will give us access to the rest of the guide channels.
Every Patriot has a 10 millimeter allen wrench provided to you for the machine. We’ll use this for the rest of the tutorial.
If you notice, we have been installing channels from one end of the machine to the next. This will prevent us from any confusion or potential jamming in the machine.
For this guide channel, we want to chamfer it towards the home and in position to prevent any jamming.
The top channel and the bottom channel that are at the nose of the position are shorter than the other guide channels. You want to make sure those are there.
Now that our channels are in, let’s jump to installing the bar pusher set. We want to take our handle and bring the chain adjustable block to line up with the opening. As we can see, there is a slot for the pre-feed flag and one for the pusher flag. Once our pusher flag is set, rotate the handle clockwise to line up the pre-feed slot with the opening. Using our three millimeter wrench, we will insert the pre-feed flag and tighten the bolts up.
If the handle gets jammed, take the handle out and place it between the pre-feed mechanism and the air cylinder and wedge the block towards the nose position. After that, we will rotate the bar all the way past the hanger to bring down the top guide channel. Insert the hanger below the support plate and tighten the three millimeter bolts up.
Bring back the bar all the way back to home position using a four millimeter allen wrench. We want to make sure there is a gap between the bottom of the hanger support plate and the top of the pusher flag. About the thickness of a business card will work. And that completes our tutorial on installing a guide channel set on a Patriot 338 and 551 bar feeder. Thank you and have a nice day.