Patriot Gen II Extraction and Introduction Actuation Mechanism
Here, we demonstrate the Patriot Extraction and Introduction Actuation Mechanism on a Patriot 338 bar feeder.
Transcript to Patriot Extraction and Introduction Actuation Mechanism:
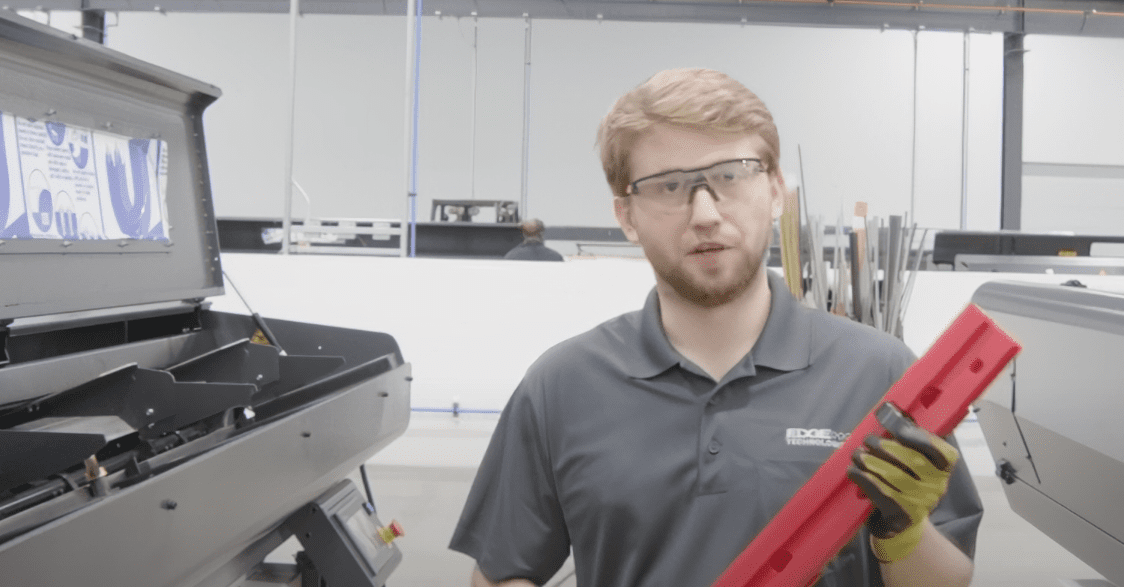
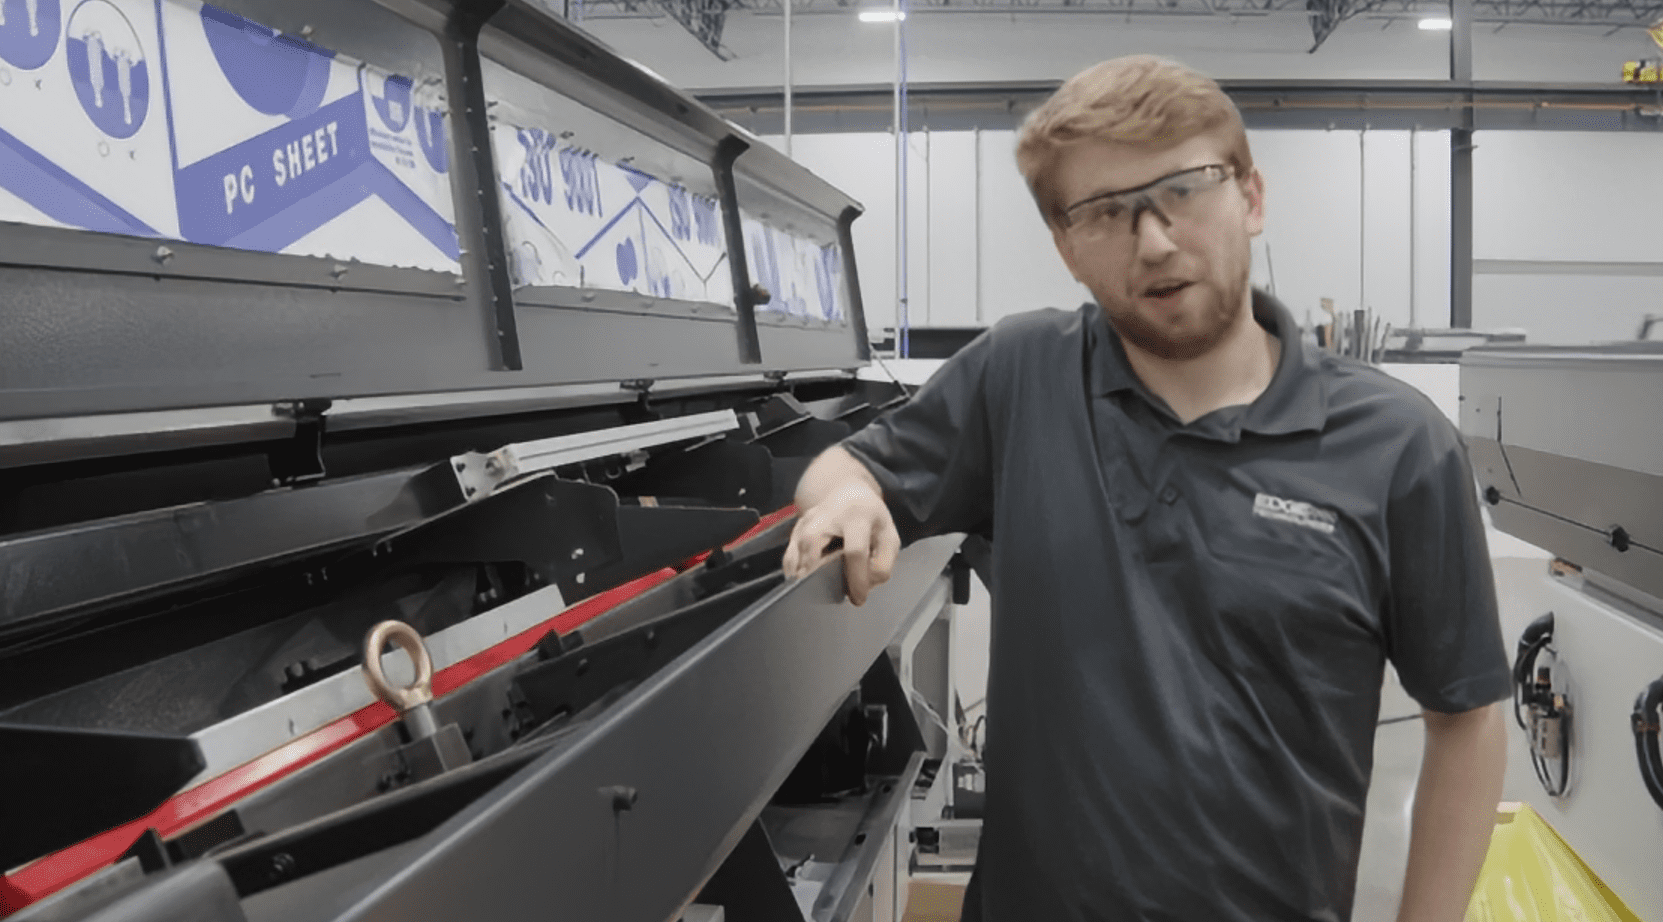
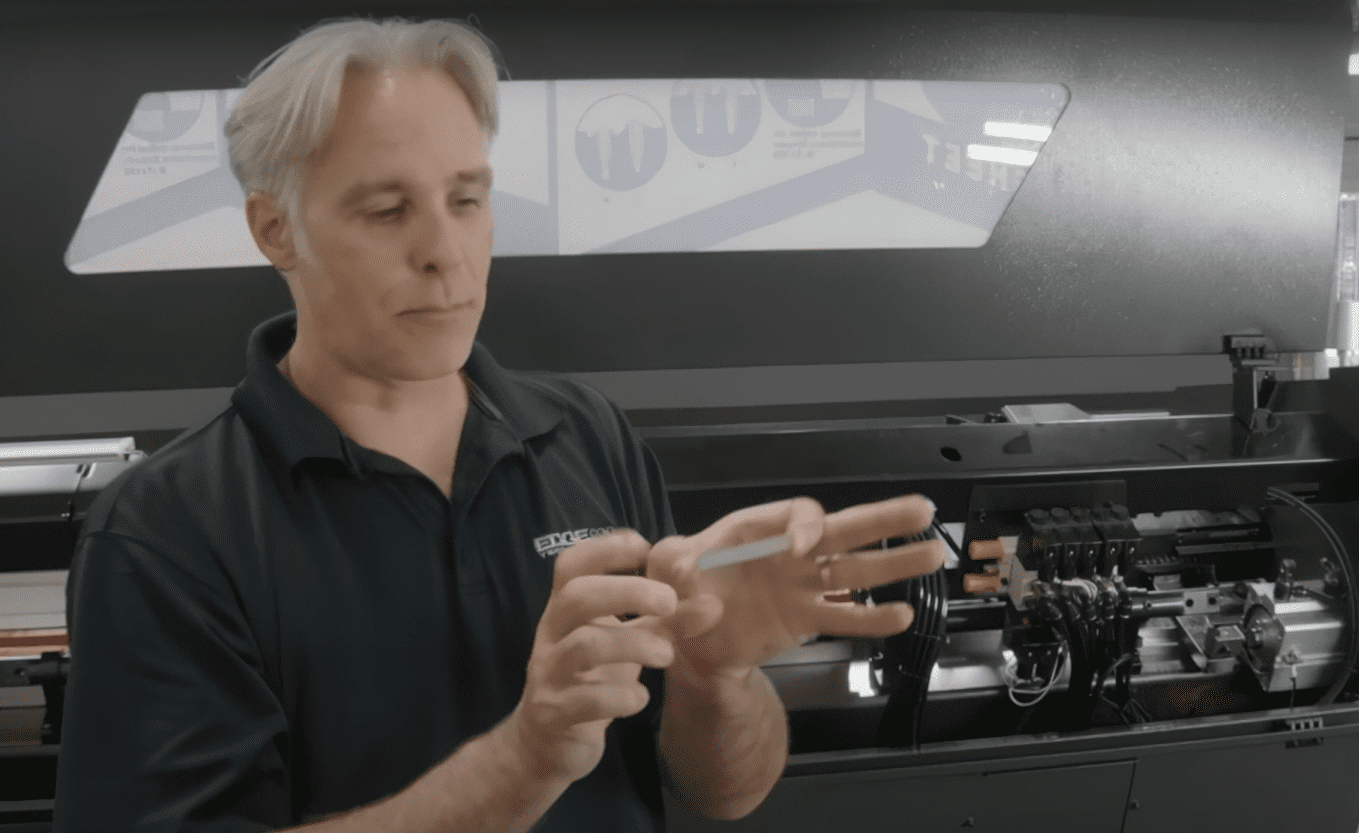
Hi, I’m Brian Grisez with Edge Technologies. Today we’re working on a Patriot 338 bar feeder and I’m going to show you the introduction and extraction actuation mechanism. So today we’re looking at the extraction and introduction actuation mechanism on Patriot bar feeder. This is good across the entire product line of Patriot bar feeders, whether it’s a Patriot 338 or Patriot 551, and whether it’s a Gen 1 or Gen 2 unit. So we’re focused on this air cylinder and this actuation arm in relationship to how it affects the pusher as it does the extraction or the draw off mechanism. So, as the pusher comes home and hits the hard stop, this air cylinder actuates to draw that pusher back to the extracted position. And then, as we introduce, it also pushes it back forward. If things aren’t quite lined up correctly, this can have the outcome of the air cylinder extracting but not grabbing a hold of the pusher. It can also have the effect of the extraction coming forward and locking the pusher so it can’t be released. So, I’m going to show you how we set this up to make sure that it works correctly. Remember, for safety, always make sure to remove the air and power from the bar feeder before beginning maintenance. In order to access this unit, this mechanism, we need to clear some space so that we can see the unit and identify how it works. So, what we need to do is remove this rear hard stop. We’re going to take this and get it out of the way. And then we’re going to remove the rear lower channel section. And then we’re going to remove this pin linkage. And now we have isolated the air cylinder from the actuator movement. Now we’re going to remove the actuation mechanism. So we’re going to remove these two bolts right here. And as I do the actuation mechanism, our finger arm is able to be removed. And you can see this finger is what grabs the pusher to pull it back. It’s on the spring loaded device here so that it can spring down out of the way and spring up. And it springs up into a pocket on the underside of the pusher carriage. It springs up into that pocket and it grabs the pusher and draws it back. It’s very important that this spring loaded finger is able to freely move. I’ve seen situations where particularly over time, this builds up with foreign matter and gets sticky and it’ll stick down and not be able to spring back up. And that will cause the finger to not be able to grab the pusher carriage and draw it back. Additionally, the stroke of this air cylinder is very important where this clevis lines up in relationship with this hole. The distance that it is away from its rear position is crucial for correct alignment. So, now we’re going to focus on the actuation of this finger arm. We want to make sure that there’s a smooth slide back and forth of this arm. Make sure that this slide mechanism slides freely but not loose and sloppy. Additionally, the next thing we want to focus on is the position of this clevis as it’s threaded into the air cylinder shaft. So, as this air cylinder extends and contracts, the adjustment of this clevis, how far it’s threaded on, can be adjusted. And it’s crucial that it’s adjusted to the right point. If it’s too far back this way, when this is extended, then when the pusher comes back, the finger can completely miss the pusher and fail to extract it. Alternatively, if this is too far out, when it does draw the pusher back, it doesn’t go to the correct position. It’s not far enough back and it can fail to function properly that way as well. So, we need to make sure that we adjust this clevis to the correct location. The right way to do that is to slide this arm all the way forward as far as it’ll go, extend the air cylinder as far as it’ll go as well, and you want to line up the hole through the clevis and the hole through the arm. They should be lined up at that point. So I need to thread this back in one turn. Now my air cylinder is completely extended. My arm is all the way forward and the hole is perfectly lined up. That’s correct adjustment. Then I lock down the jam nut to hold that clevis in place. At this point, we’ve set this mechanism up correctly and we should be able to reassemble. The only thing we want to do after completion of reassembly is we want to follow the home referencing and home prox switch adjustment procedure which you’ll find in our other videos. Follow that procedure to ensure correct home referencing. If you found this video helpful, please don’t forget to like and subscribe. And if you have an idea of videos that you’d like to see in the future, mention in the comments